Native GitLab Integration
At Gitpod we want to make developers’ lives easier. Starting automated dev environments for your daily coding tasks is already very easy…
This post is all about how to build your webhook for your Google Assistant action and host it temporarily on Gitpod and test your code.
If you have these in place, Let’s get started.
First of all I would like to start this section by saying, I ❤ Gitpod. Gitpod is an online IDE for Github. Gitpod provides you with a fully working development environment, including a VS Code-powered IDE and a cloud-based Linux container configured specifically for the project at hand. Just prefix your Github repo URL with ”https://gitpod.io/#”, So that the final link looks something like this ”https://gitpod.io/#https://github.com/
I have created a Github repo which will help you get started without any hassle. The repo is basically a boilerplate to get started with building your webhook. The code is written in Node JS, So it would be easier for you to build on top of it if you are already familiar with Node JS. We will be using the action-on-google Node JS library (This client library makes it easy to create Actions for the Google Assistant and supports Dialogflow, Actions SDK, and Smart Home fulfillment.).
The .gitpod.yml file is used to automate setting up the environment required to run your app.
If you want to access services running in your workspace, e.g. a development HTTP server on port 8080, you need to expose that port first. Gitpod has two means of doing that:
ports:
  - port: 3000
When starting or restarting a workspace you typically want to run certain tasks. Most probably that includes the build and maybe also running tests and automatically start the application in e.g. a dev server.
Gitpod allows you to configure start tasks in the .gitpod.yml file.
For instance, the start script for this repository is defined as:
tasks:
- init: npm install
  command: npm start
You can have multiple tasks, which are opened on separated terminals.
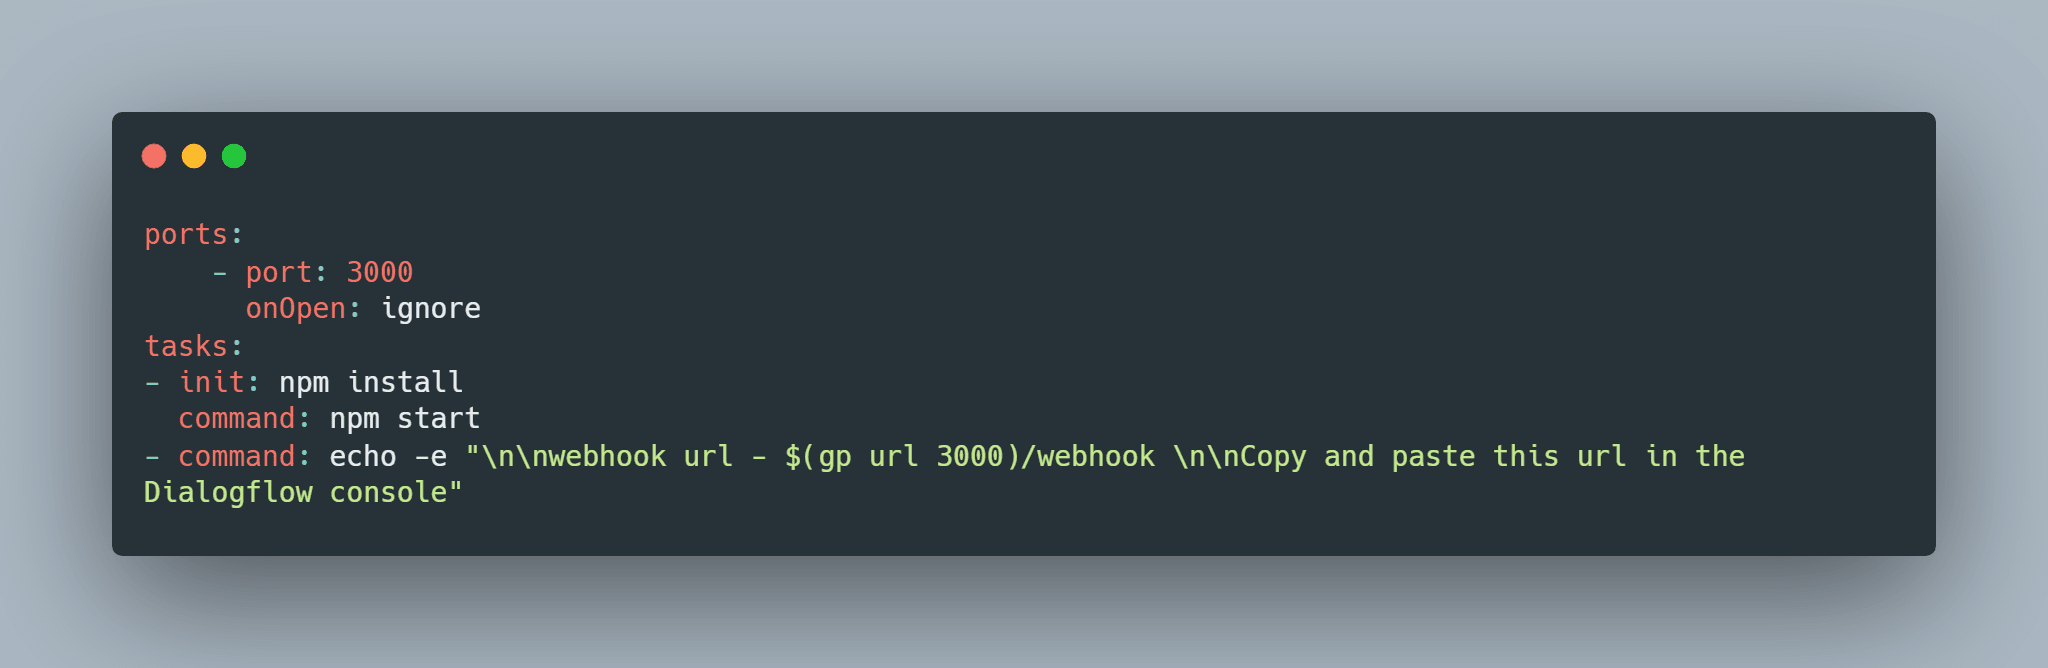
tasks:
- init: npm install
command: npm start
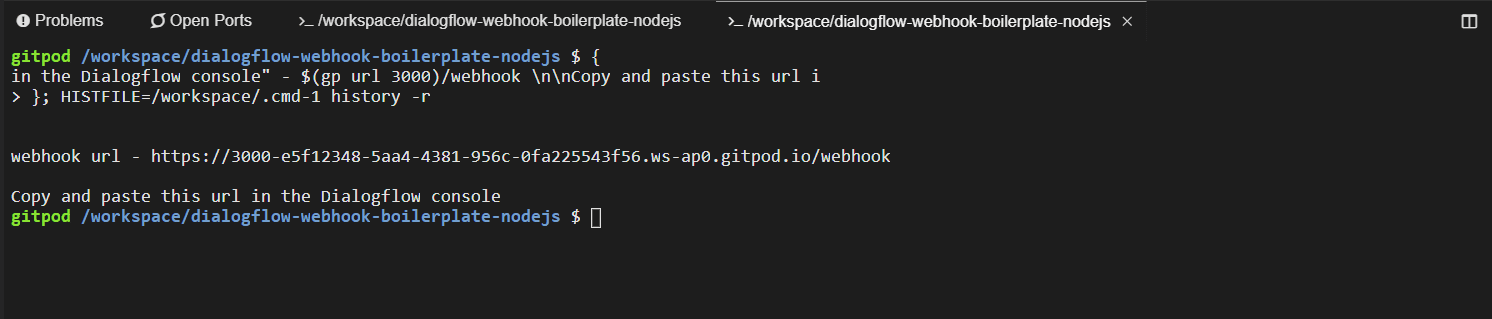
- command: echo -e "\n\nwebhook url - $(gp url 3000)/webhook \n\nCopy and paste this url in the Dialogflow console"init commandThe init property can be used to specify shell commands that should only be executed after a workspace was freshly cloned and needs to be initialized somehow. Such tasks are usually builds or downloading dependencies. Anything you only want to do once but not when you restart a workspace or start a snapshot.
In our case the init command is
tasks:
- init: npm install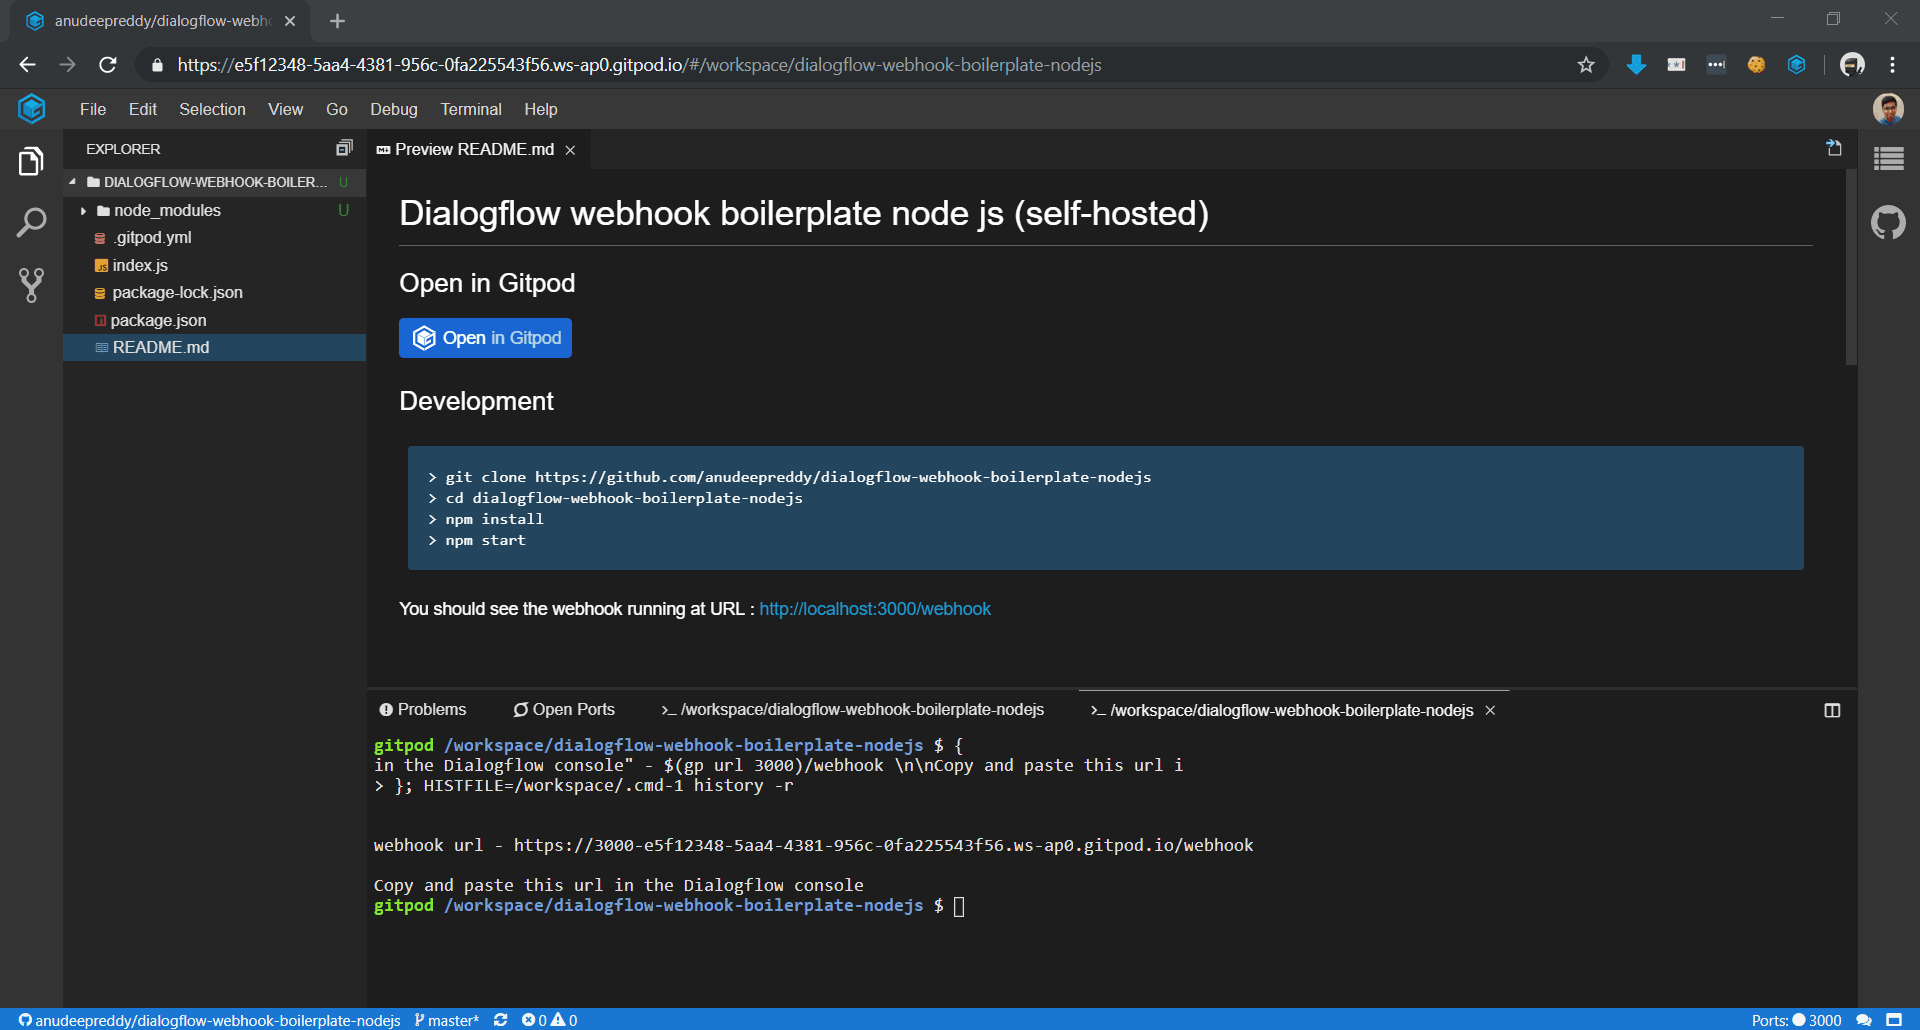

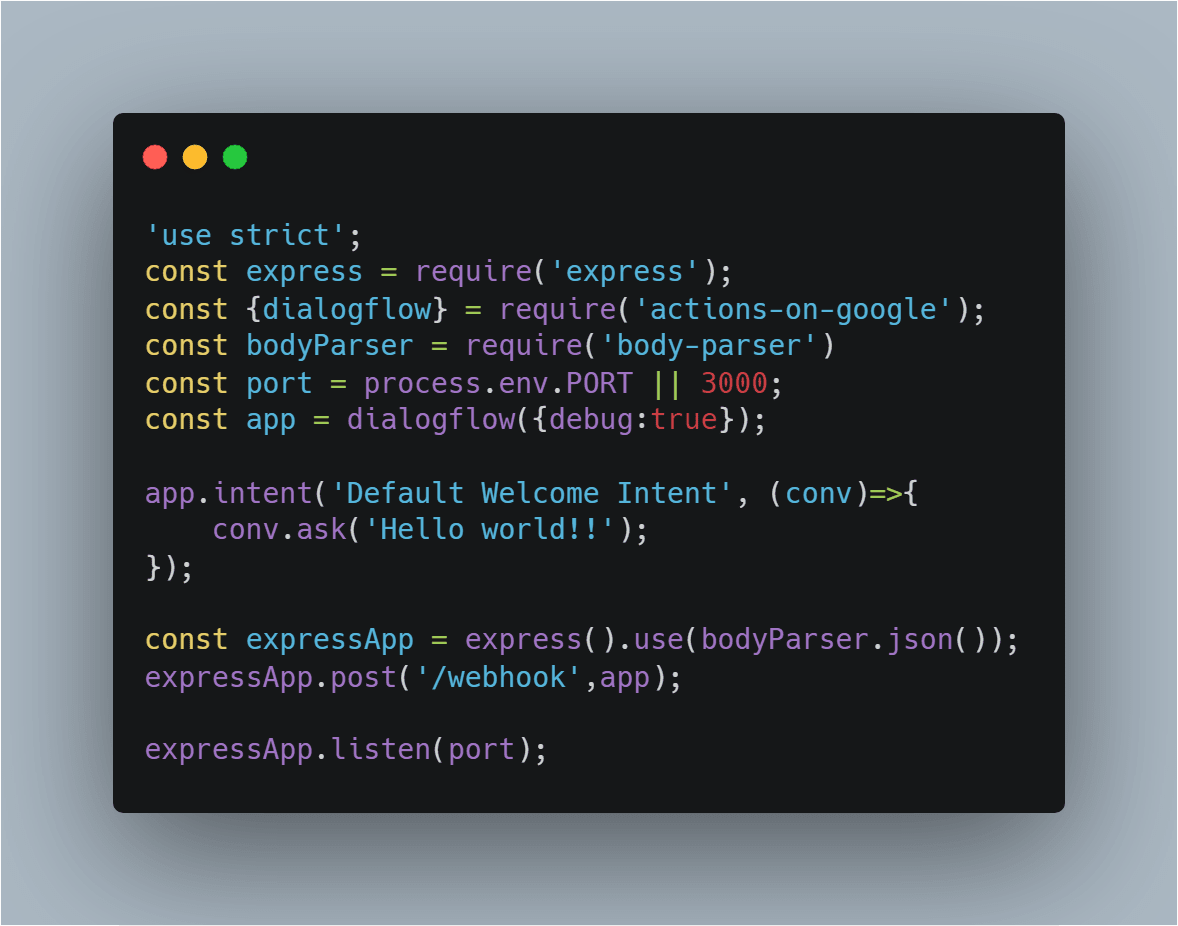
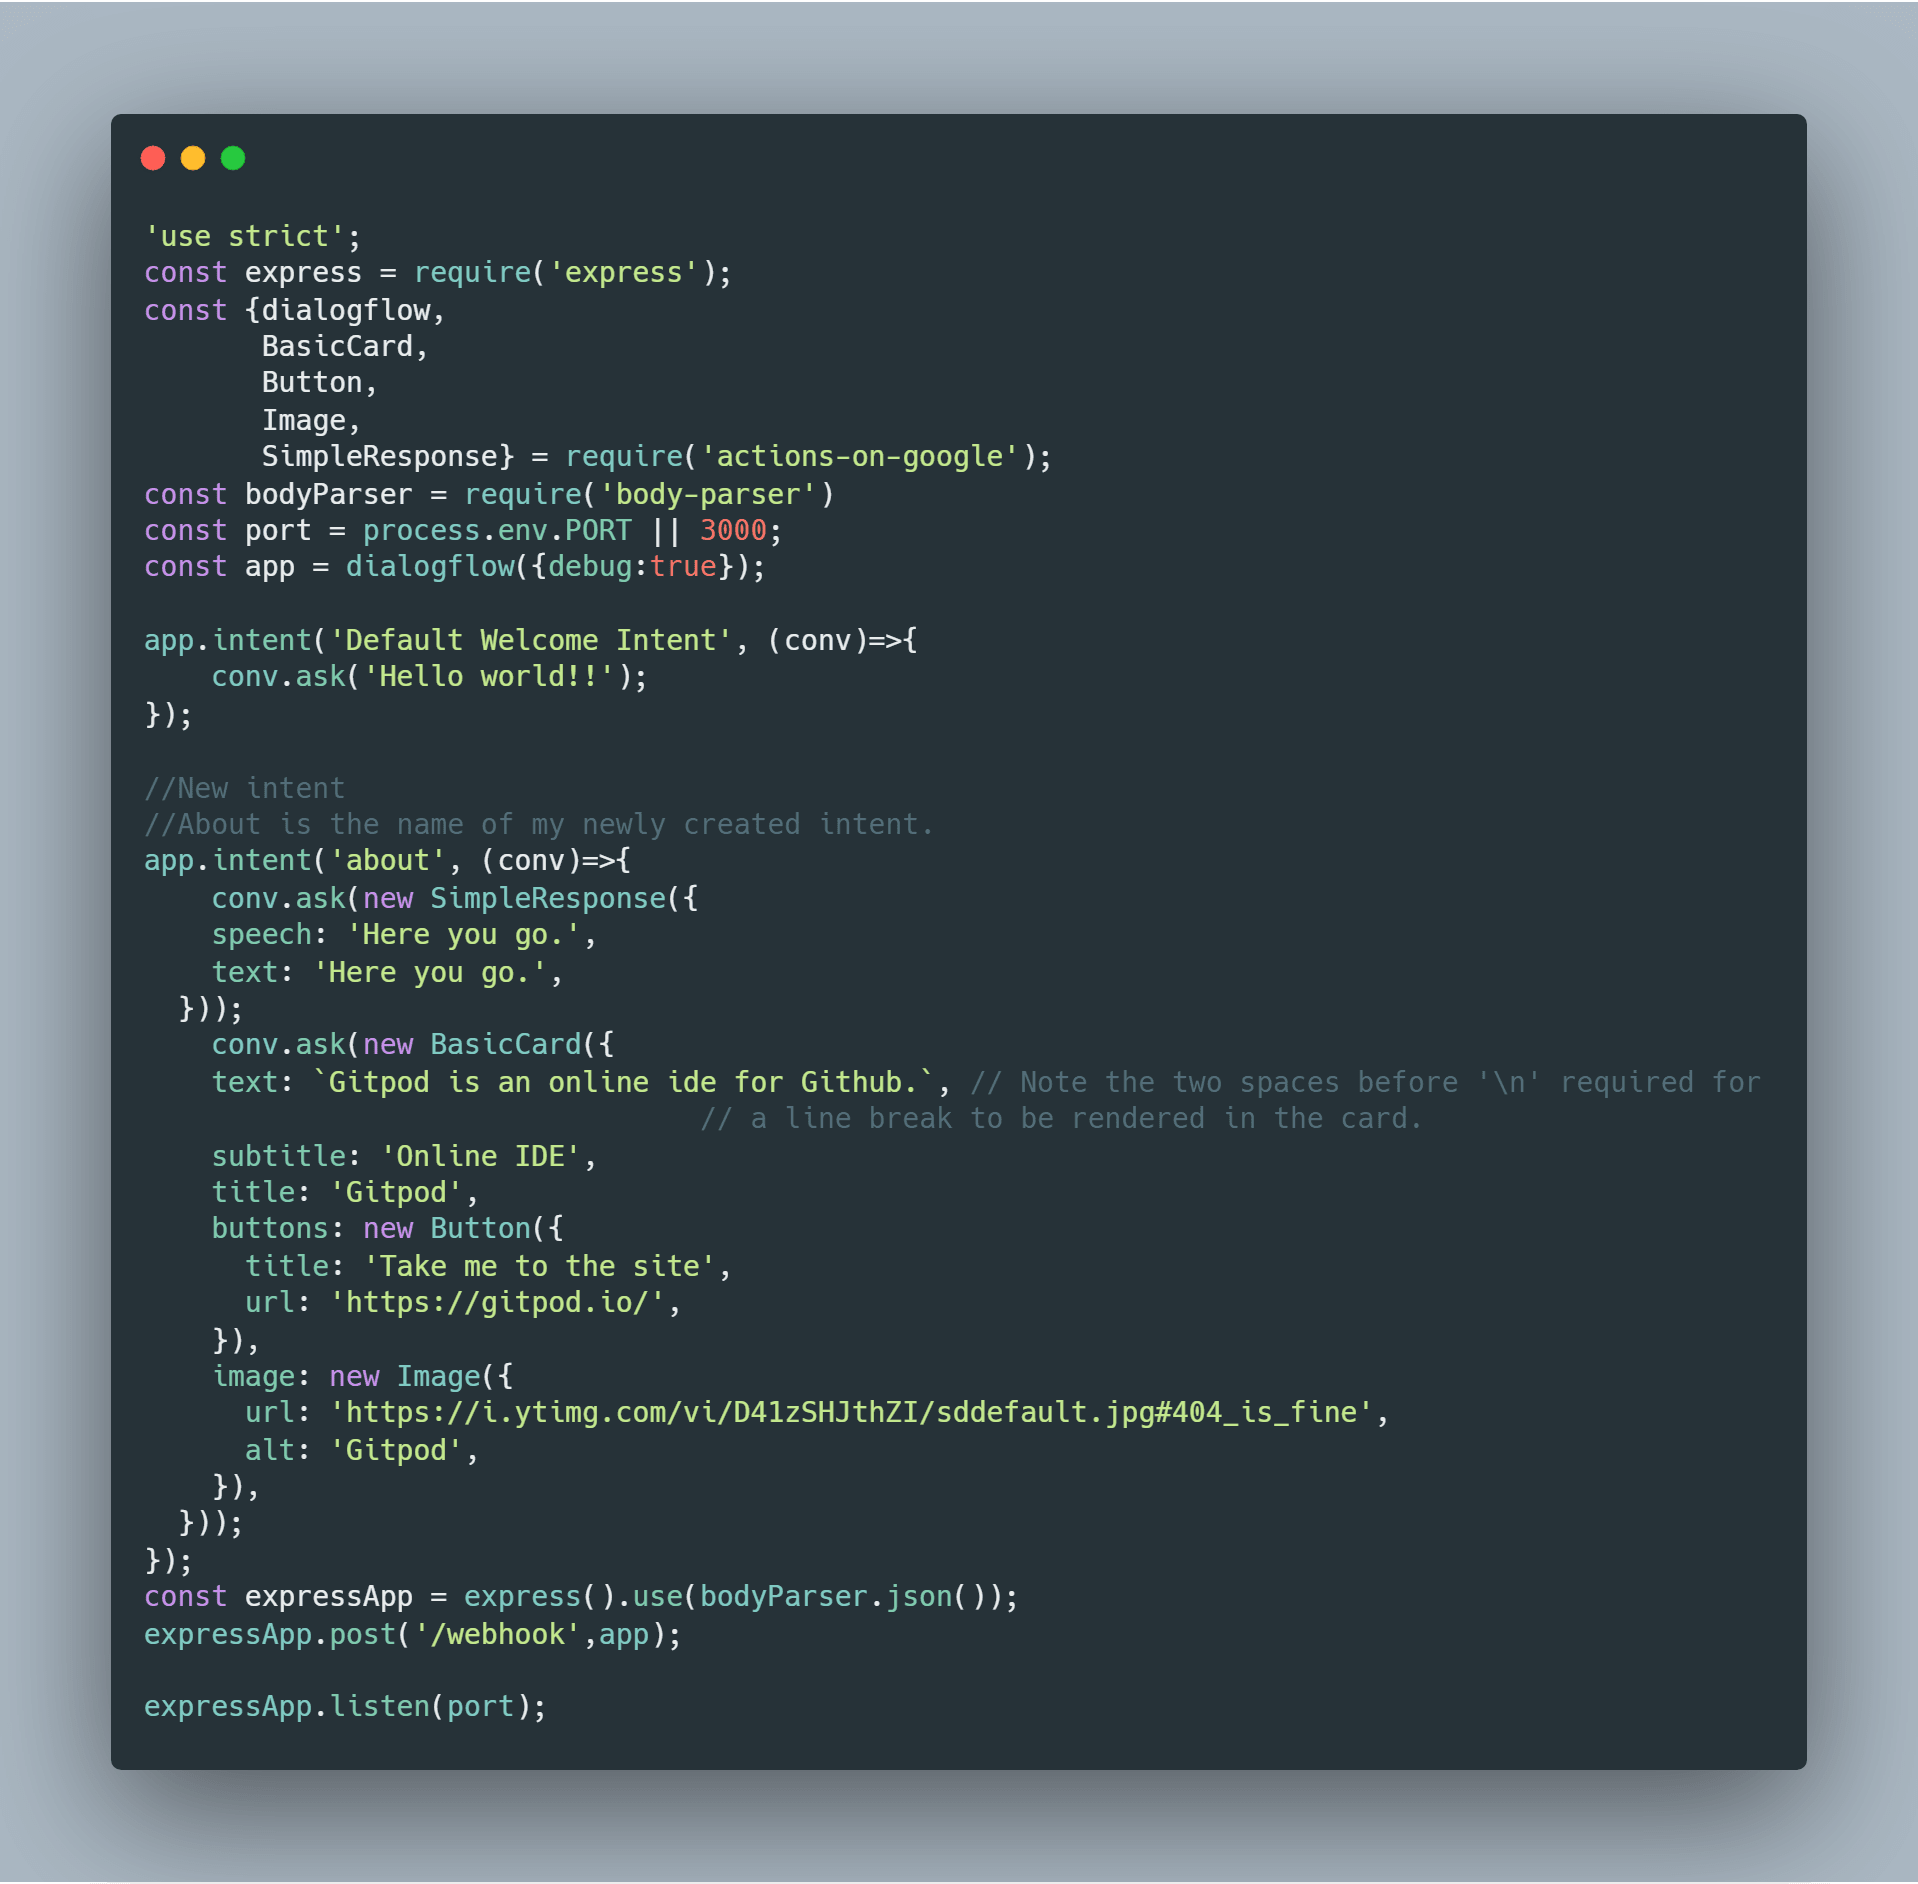
The file initially contains this code. Now lets add some more code to it to display a card when we invoke the new intent we created in the previous section. actions-on-google library provides many functionalities to can simplify your task to render rich responses in your action.
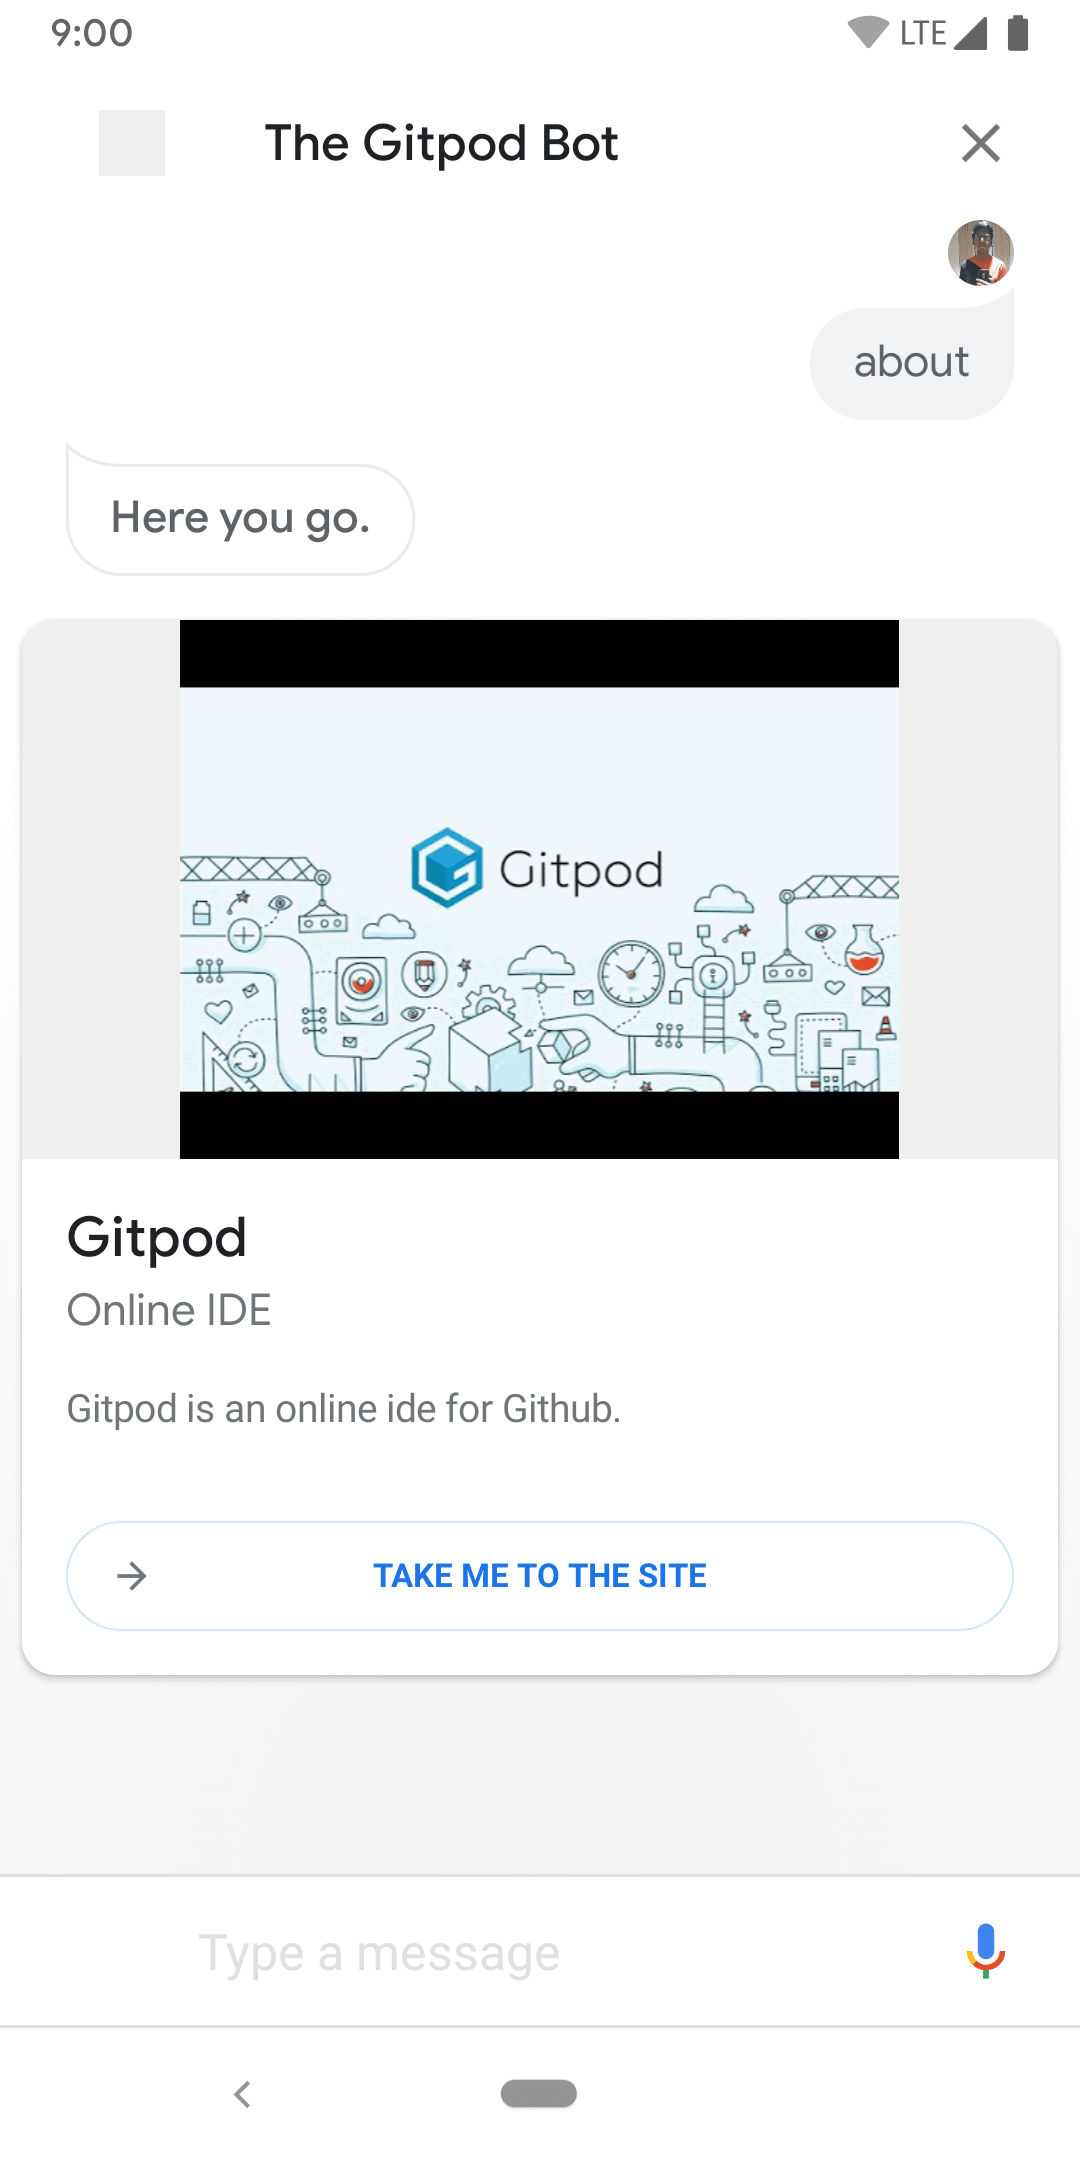
We will be adding the following code to display a card when the new intent is invoked.
Replace the URL’s and other contents in the code and stop the previous instance of the app from running and start it again after you have made changes to the code by running npm start in the terminal.
Refer to the links below to add your own functionalities.
Gitpod can make your life much simpler by automating your development setup just by adding a simple configuration file to your repo. You can refer to the Gitpod Docs to learn more about the platform. Gitpod lets you work with unlimited workspace but with 100hrs/month runtime. It also provides Personal and unlimited plans as well. If you are a student then you can claim Gitpod Unlimited plan for just $9.

At Gitpod we want to make developers’ lives easier. Starting automated dev environments for your daily coding tasks is already very easy…
As of today Gitpod is open source under the AGPL license at github.com/gitpod-io/gitpod. This allows the community to participate in the…
Today, we’re excited to bring you instant development environments for all Bitbucket projects. Simply type in front of any Bitbucket…